9+ Inexpensive Raised Garden Bed Ideas (Easiest & Most Effective DIY Raised Garden Bed Plans)
Creating a raised garden bed can be a fun and rewarding project, especially when you’re working with a budget. I’ve discovered that you don’t need to spend a lot to build a beautiful garden space.
In fact, many creative ideas for inexpensive raised garden beds can make your gardening dreams come true without breaking the bank.
From using cinder blocks to repurposing old pallets, the options are endless and often surprisingly simple.
These beds not only help organize your garden but also improve drainage and soil quality.
By exploring affordable designs, I’ve found ways to grow my favorite veggies and flowers while keeping costs low.
If you’re ready to start your gardening adventure without a hefty price tag, you’re in the right place. Join me as I share some of my favorite ideas for building raised garden beds that are easy on your wallet and amazing for your garden!
1. Planter Wall Block Raised Garden
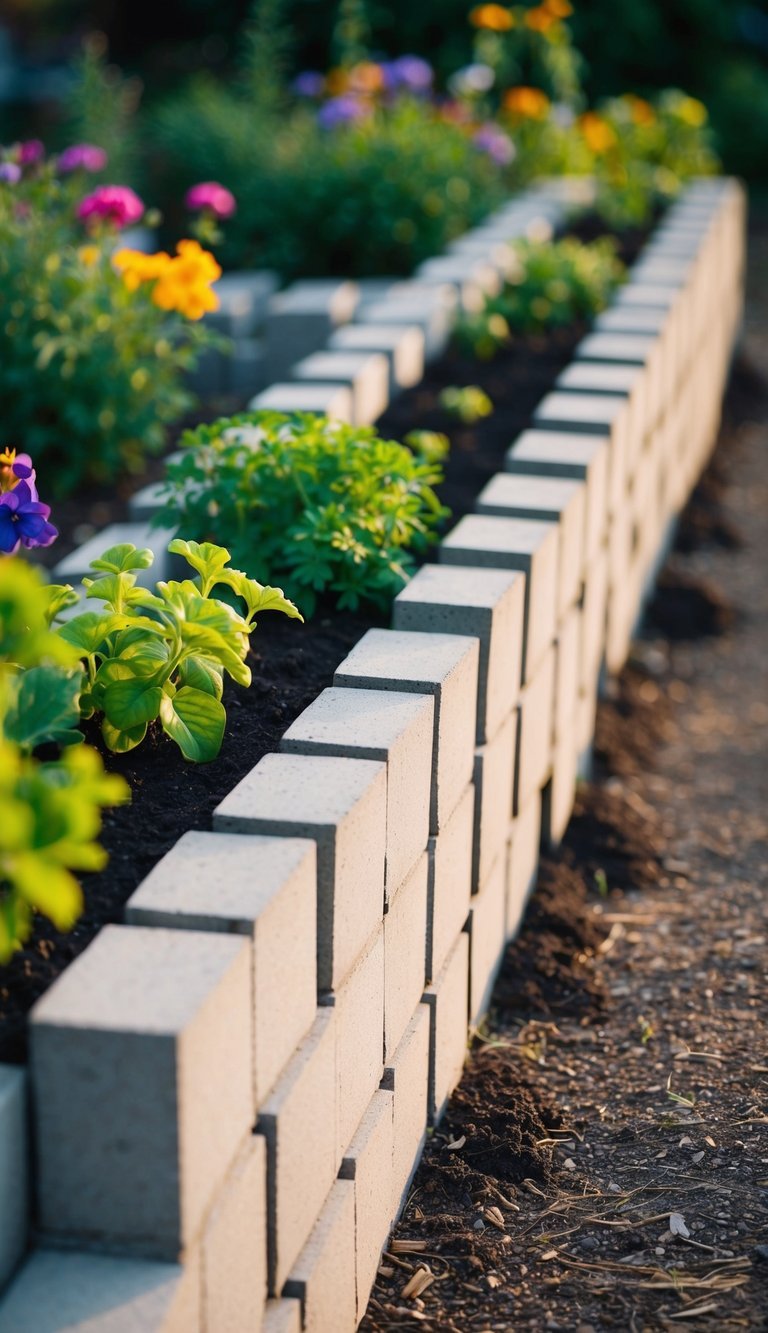
Building a planter wall block raised garden is one of my favorite projects. It’s simple and adds a lovely touch to any yard.
To get started, you’ll need a few materials. Here’s a quick list:
- Planter wall blocks: These come in various colors and styles.
- 2 x 6 wood boards: Cut to your desired length.
- Soil: Quality garden soil is essential for healthy plants.
First, I level the ground where I want the garden. Then, I place the planter wall blocks in each corner, with the open holes facing up. This design allows for great drainage.
Next, I slide the 2 x 6 boards into the blocks to form the sides of the garden.
It’s important to ensure everything is straight and secure. Once the frame is set, I fill it with rich garden soil.
Now comes the fun part! I plant seeds or seedlings in the new bed.
Some great options include vegetables like tomatoes and peppers or flowers for a pop of color.
This method not only saves money but also creates a sturdy and attractive garden space. I highly recommend trying it!
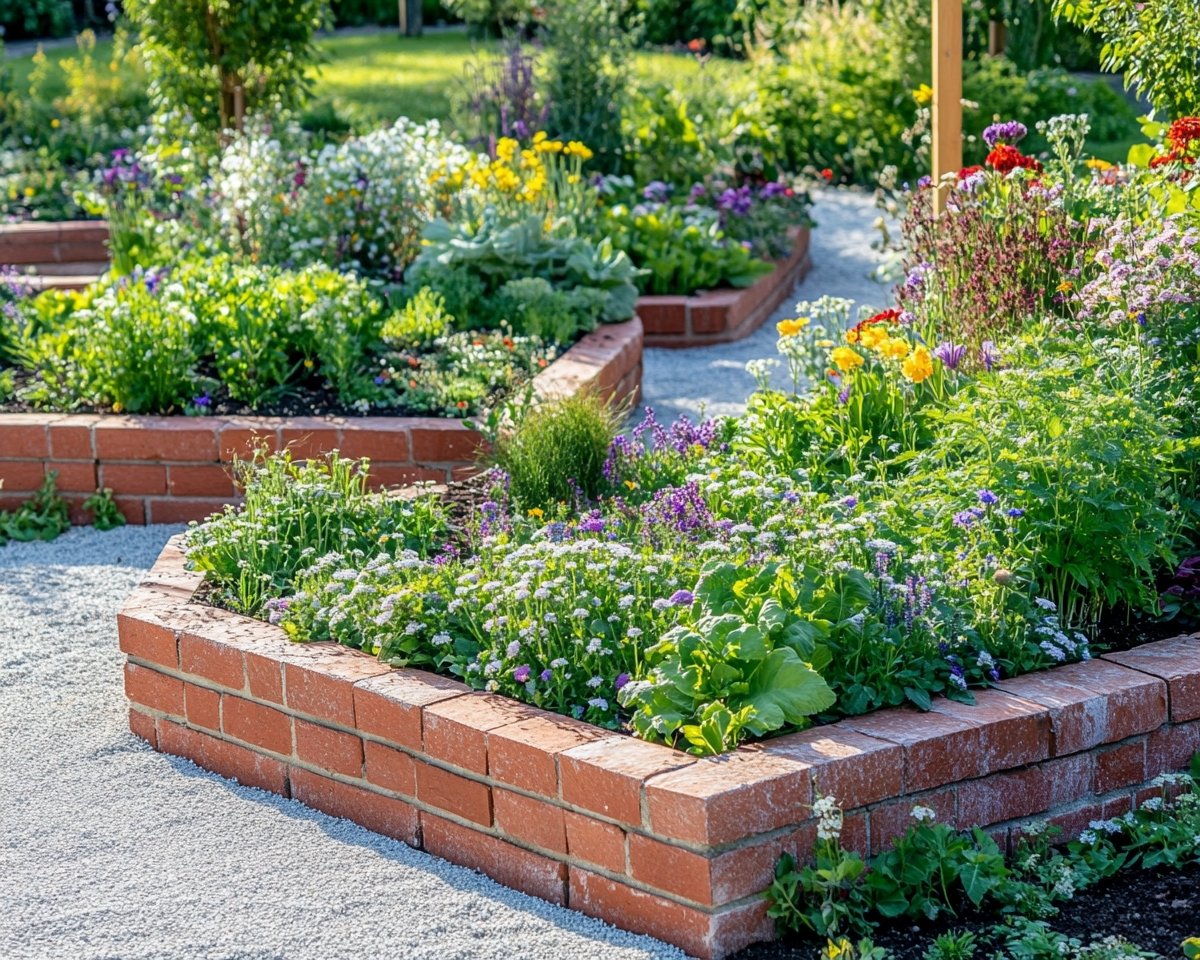
2. Built-In Red Brick Raised Beds
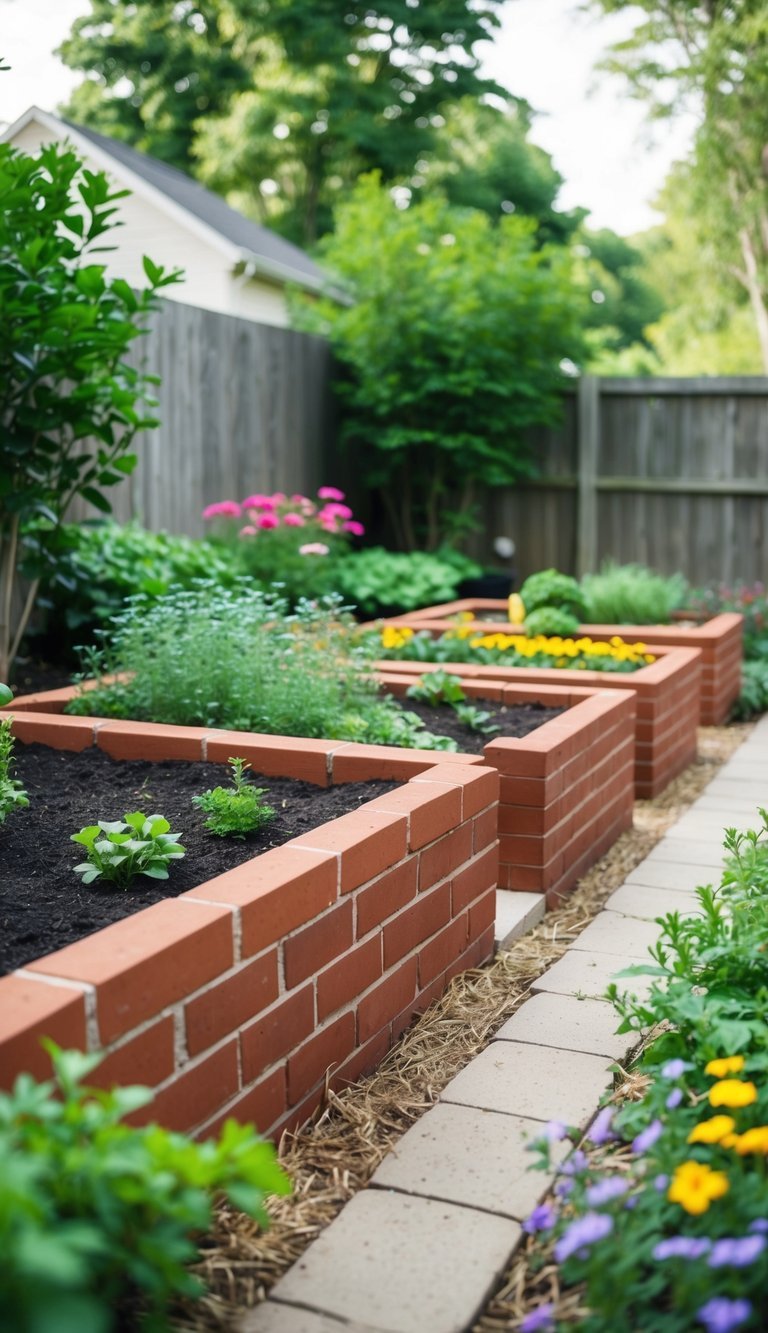
Creating built-in red brick raised beds is a fantastic way to add beauty and function to my garden.
Red bricks are durable and can withstand various weather conditions. Plus, they add a classic look that complements any outdoor space.
To start, I choose a sunny location. I then plan the dimensions based on the plants I want to grow.
A common size for raised beds is 4 feet by 8 feet, which gives me ample space for vegetables or flowers.
Materials Needed:
- Red bricks
- Landscape fabric (optional)
- Soil (preferably a mix of compost and topsoil)
- Gardening tools (like a trowel)
Steps to Build:
- Outline the Area: I mark the corners of my raised bed with stakes. This helps me visualize the space.
- Lay the Bricks: I start laying the bricks along the marked area. Stacking them in a staggered pattern makes the structure sturdy.
- Fill with Soil: After the bricks are in place, I add landscape fabric to prevent weeds, then fill the bed with soil.
These built-in beds retain heat, which can extend the growing season. The bricks also create a natural barrier for pests, allowing me to enjoy my gardening experience more. They truly enhance both my gardening and outdoor enjoyment.
3. Grow Bag Raised Beds
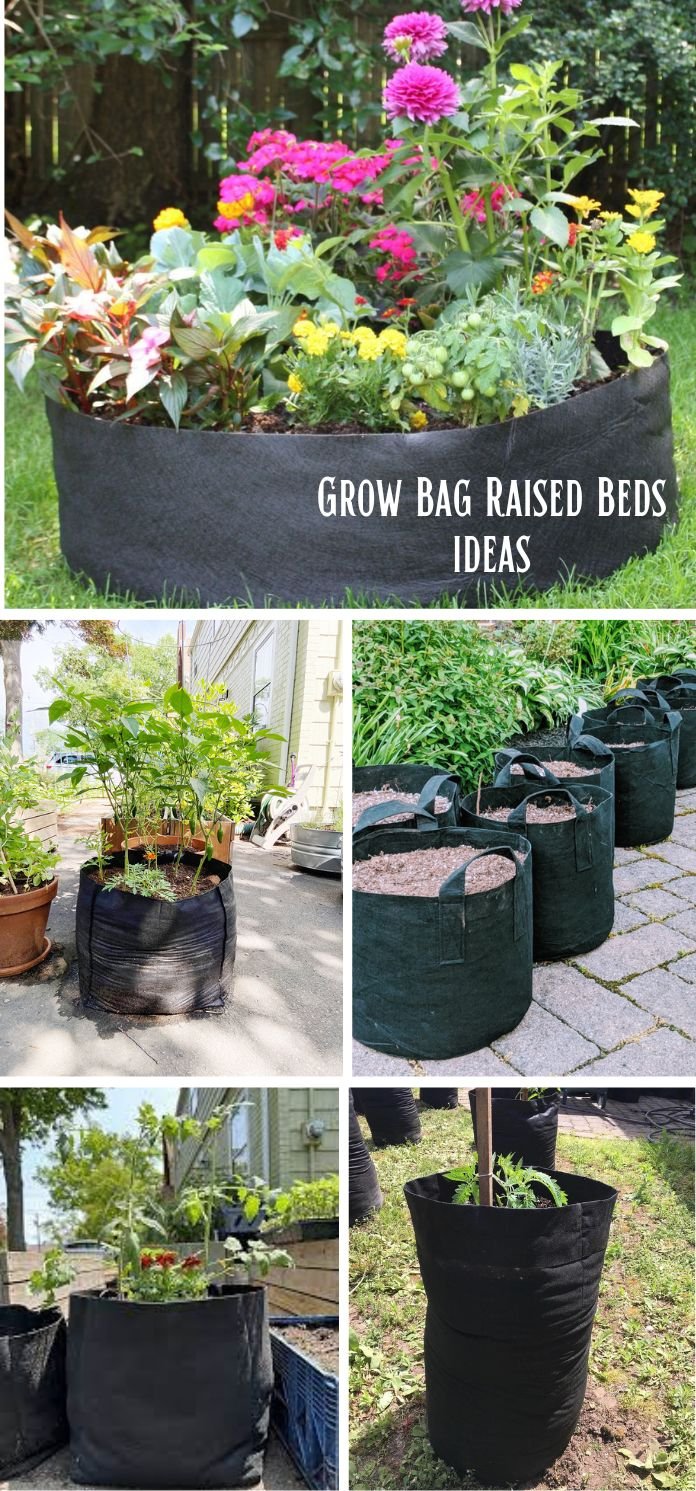
I really enjoy using grow bags for my garden. They are simple to set up and can be placed almost anywhere.
Benefits of Grow Bags:
- Portability: I can easily move them to capture the best sunlight.
- Drainage: These bags allow for excellent drainage, which keeps roots healthy.
- Versatile Sizes: They come in various sizes, making it easy to fit any space.
I often choose fabric bags, as they are breathable. This helps prevent overheating and root circling. Plus, they are typically lightweight.
When filling my grow bags, I use a mix of potting soil and compost. This gives my plants the nutrients they need.
Here’s a quick list of plants that do well in grow bags:
- Tomatoes: They thrive with the right care.
- Peppers: Easy to manage in small spaces.
- Lettuce: Great for multiple harvests.
For best results, I place my grow bags in a sunny spot. Checking the moisture level is essential, especially during hot days.
Finally, I love how grow bags can be used seasonally. After harvest, I can easily clean them and store them away. These bags give me flexibility and great results in my gardening adventures.
4. Flower Box Raised Beds
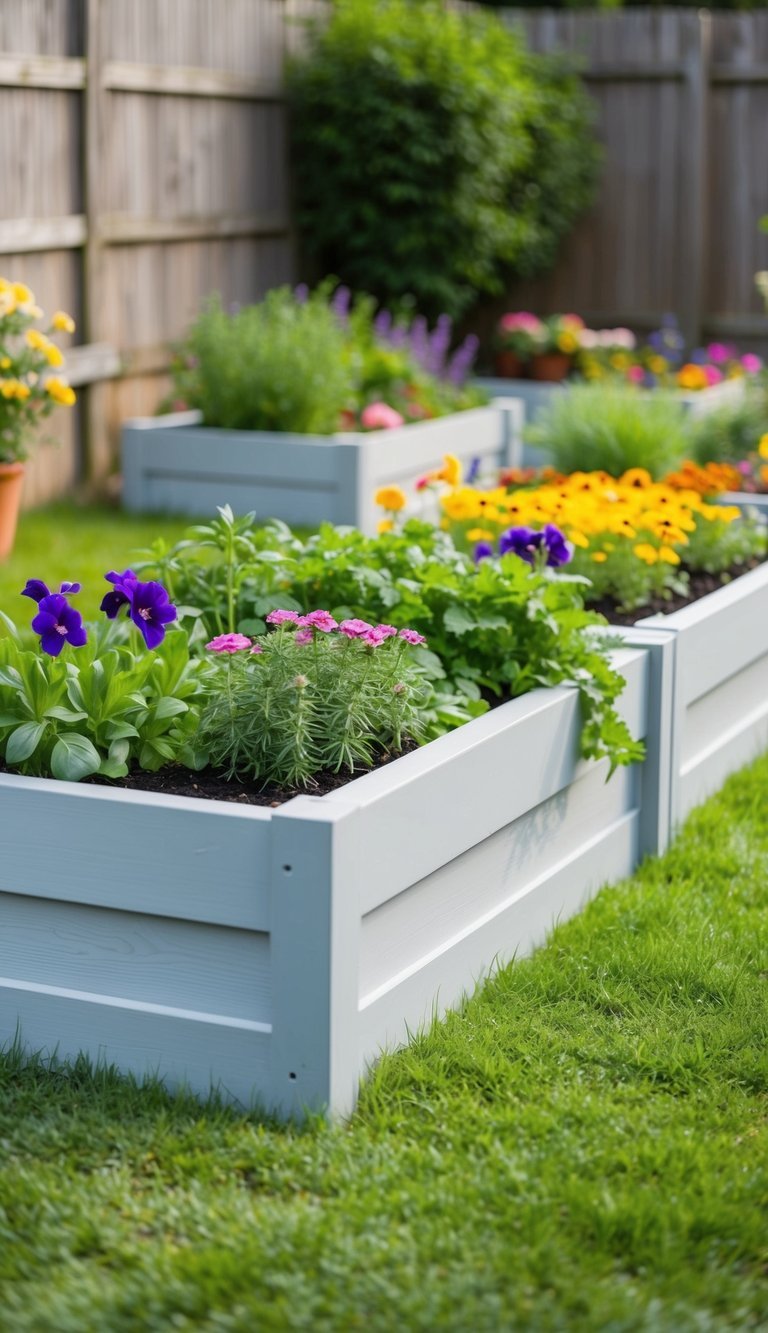
Flower box raised beds are a wonderful way to grow plants while adding charm to your garden. These beds can be made from various materials, including wood, plastic, or metal.
I find that using wooden pallets is an economical option for flower boxes. They’re often free or very inexpensive, and with a bit of work, they can last for years.
You can easily create a rectangular shape, perfect for flowers or even small vegetables.
Another option is recycled materials. You can use old crates or boxes you have on hand. Just ensure they are clean and safe for planting. A bit of paint can also personalize your flower box.
When it comes to planting, I recommend using a mix of annual and perennial flowers.
This way, you’ll have blooms each year without replanting. Marigolds, petunias, and zinnias thrive in flower boxes.
To keep it tidy, I suggest adding a layer of landscape fabric at the bottom. This helps control weeds while allowing water to drain.
Lastly, positioning your flower box in an area with good sunlight can make a big difference. I’ve seen flowers thrive in spots that get at least six hours of sun a day.
Flower box raised beds are not just functional but also add beauty to any space!
5. Galvanized Planters
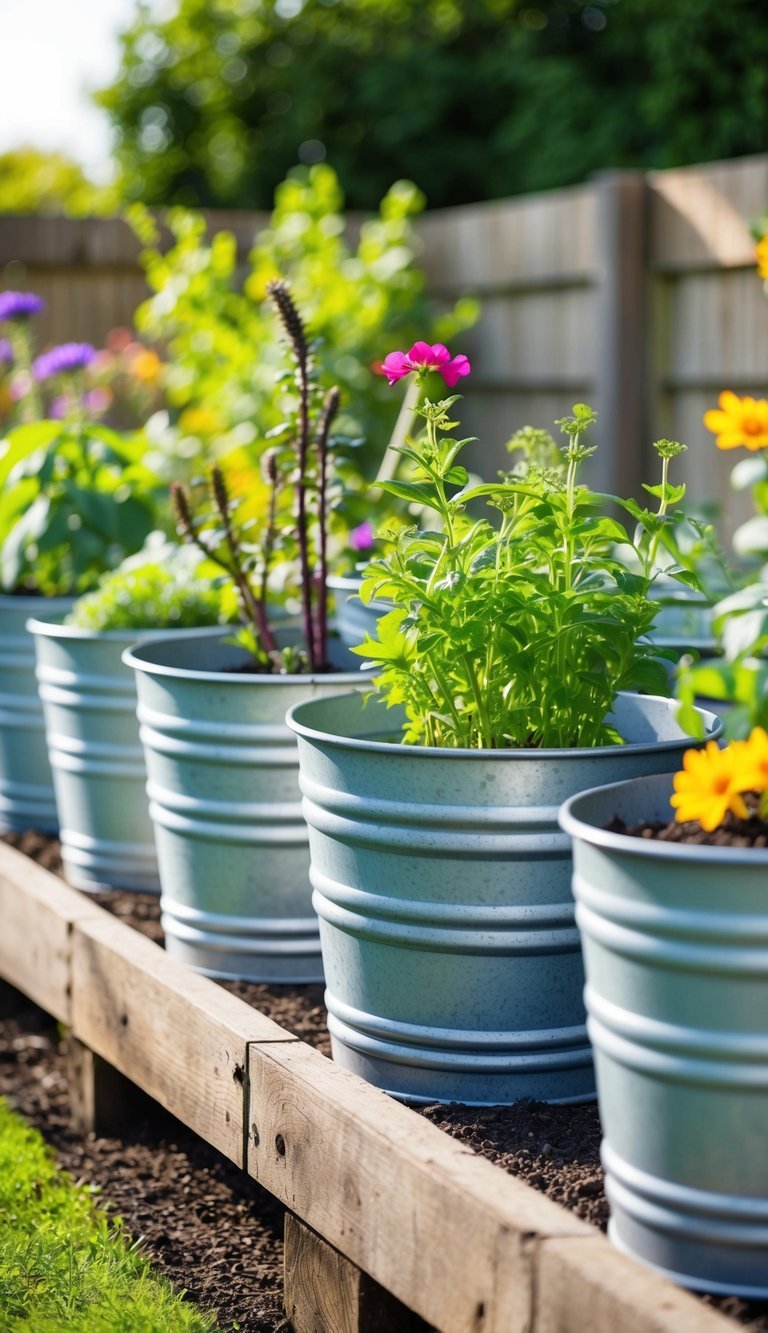
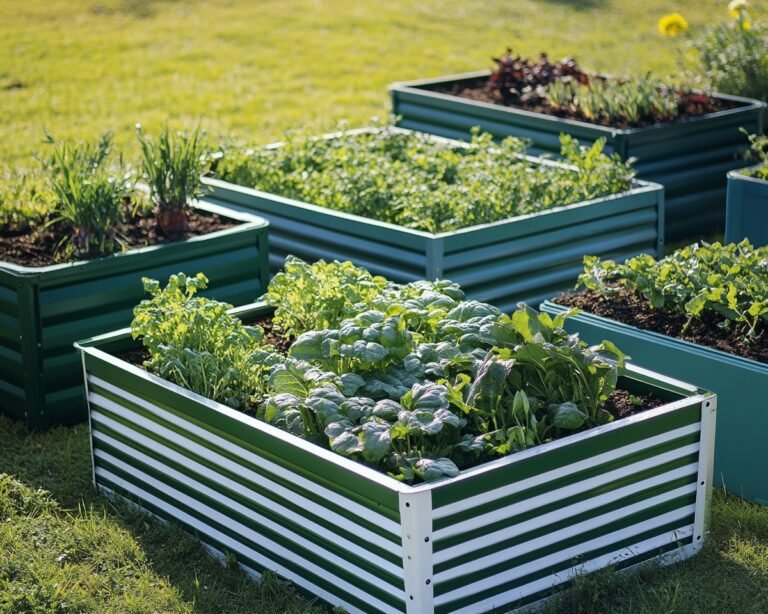
I find galvanized planters to be a fantastic choice for raised garden beds. They are not only affordable but also durable.
These planters can withstand the elements, making them ideal for outdoor use.
One of the best features is their versatility. They come in various sizes and shapes, from small tubs to larger containers. This means I can choose the right fit for my garden space.
Using galvanized steel also adds a rustic charm to my garden. The shiny finish catches the light and can enhance the overall look of my plants. Plus, they are easy to source from farm supply stores or online.
Here are a few reasons I like using galvanized planters:
- Affordable: I can often find them at reasonable prices.
- Durable: Unlike wood, they won’t rot or warp.
- Well-Contained: The sides help keep the soil in place and prevent weeds.
To get started, I simply fill the planter with a good soil mix and add my favorite plants.
I enjoy using them for herbs and vegetables since they drain well.
Remember to ensure adequate drainage holes at the bottom if you wish to avoid water pooling. This will keep my plants healthy and thriving.
6. Elevated Wood Planter Boxes
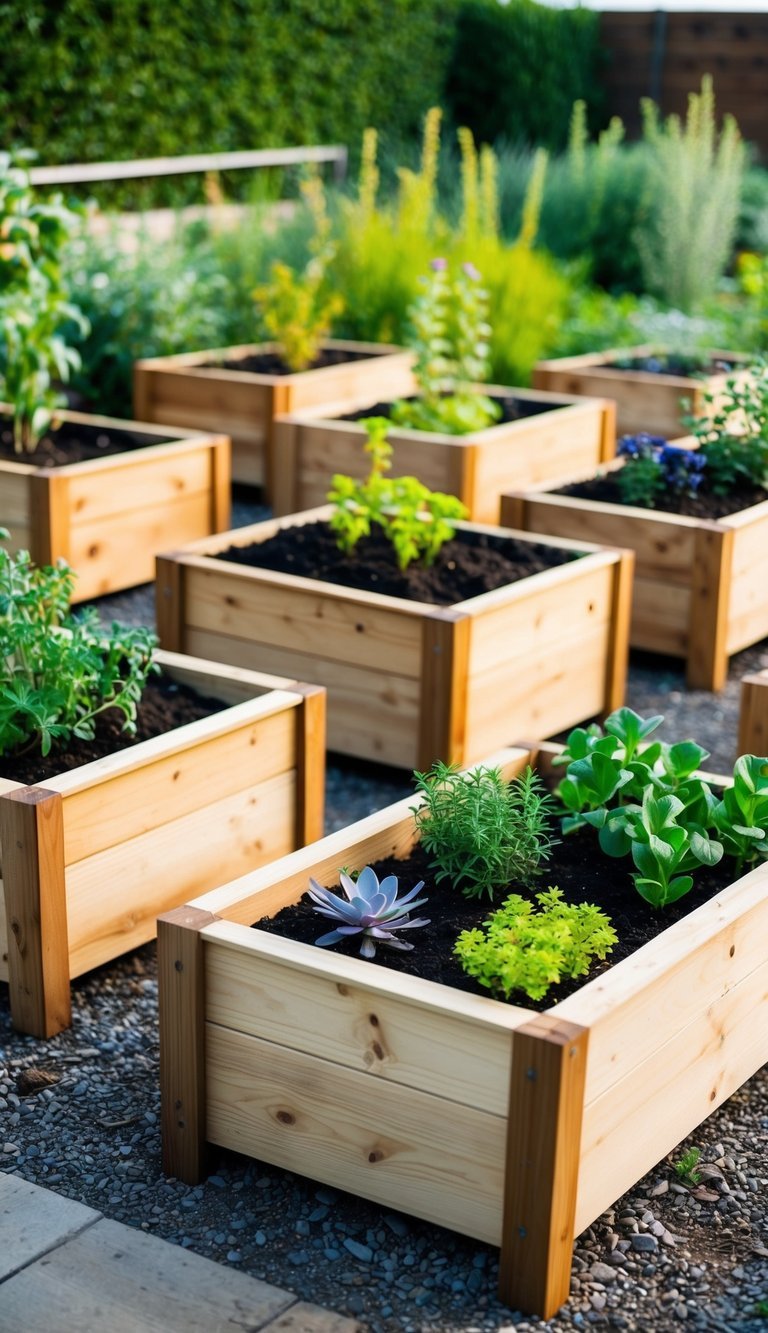
I find elevated wood planter boxes to be a fantastic way to grow my plants. They are not only stylish but also practical. Here are some reasons I appreciate them:
- Ease on the Back: Since they are raised, I don’t have to bend down as much. This makes gardening easier on my back.
- Better Drainage: The height allows for better drainage, which is crucial in preventing water from pooling around the roots.
- Pest Control: Being elevated can help keep pests like rabbits away from my plants. I can also easily add netting or cages for extra protection.
When building a planter box, I often use untreated wood. It’s safe for the plants and blends well with my garden. Here are some simple materials I use:
- Untreated wood planks
- Corner braces for support
- Landscape fabric to line the inside
To get started, I simply cut the wood to my desired dimensions and assemble the box using screws.
I always make sure it’s sturdy enough to hold the soil and plants.
After building, I fill the box with a mix of compost-rich soil. This mix helps my plants thrive, whether I’m growing herbs, vegetables, or flowers.
Elevated wood planter boxes offer both beauty and function in any garden space. They are a great way to enjoy gardening without the strain.
7. Wall Mounted Hanging Planters
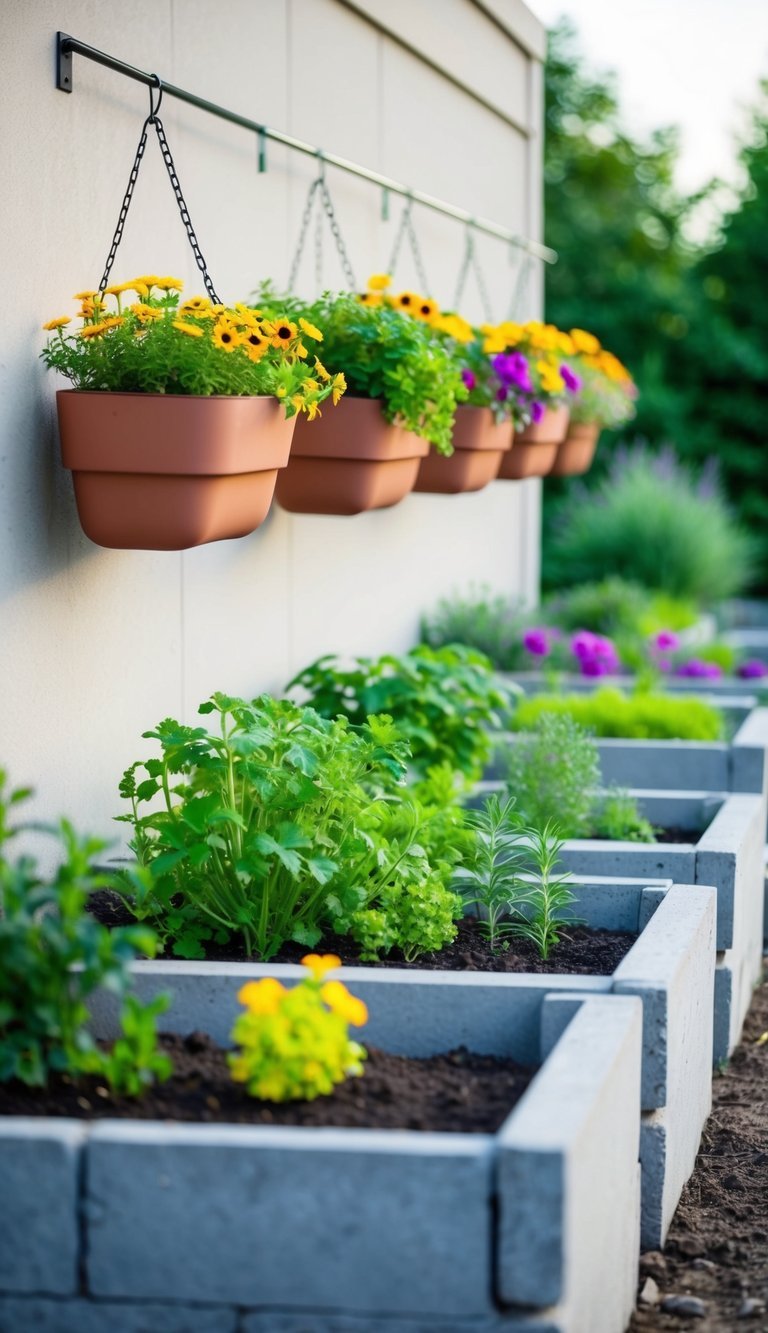
I enjoy using wall-mounted hanging planters for my garden. They save space and add a unique touch to any area. These planters are perfect for small yards or even balconies.
To create a wall-mounted planter, I gather a few simple materials:
- Wooden crates: These can be painted or left natural.
- Metal brackets: Strong enough to hold the weight of the plants.
- Potting soil: Choose a quality mix for best results.
- Plants: Herbs, succulents, or flowers work well.
Here’s a quick guide to setting them up:
- Choose a location: Find a sunny spot against a wall.
- Attach brackets: Secure them firmly to the wall.
- Add crates: Position them on the brackets.
- Fill with soil: Make sure to pack it down lightly.
- Plant your favorites: I love mixing different colors and textures.
Maintaining these planters is easy. Just water them regularly and watch for pests. Pruning dead leaves helps keep them looking tidy. Plus, having fresh herbs like basil or mint right at my doorstep is fantastic.
Wall-mounted hanging planters not only save space but also create a lovely green aesthetic. They allow me to enjoy gardening even in small areas.
8. Tiered Vertical Garden Bed
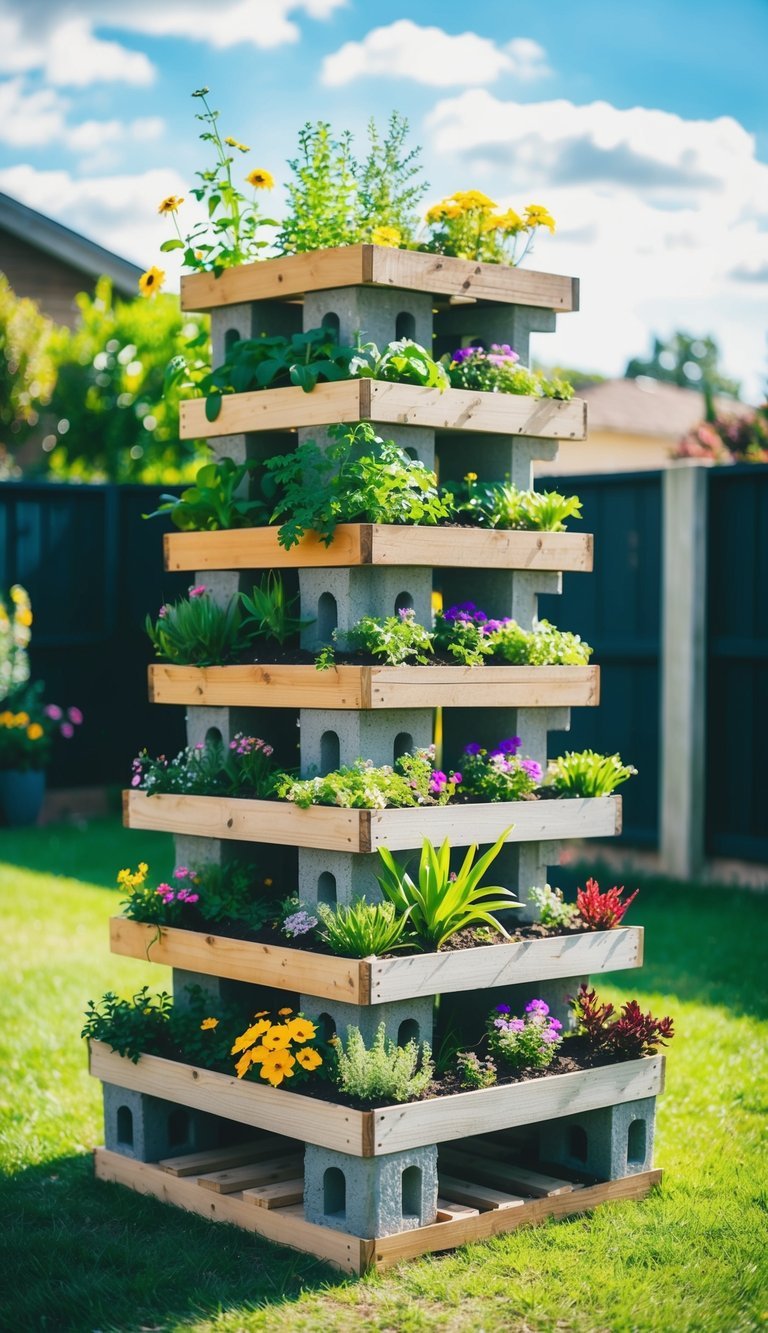
A tiered vertical garden bed is a fantastic way to maximize space while adding beauty to your garden. I love how it allows me to grow different plants at various levels. This design also makes it easier to tend to my plants.
Creating a tiered garden bed can be simple. You can use wooden pallets, bricks, or even old furniture like shelves. Here’s how I usually set it up:
- Choose Your Location: Pick a spot that gets plenty of sunlight.
- Build the Base: Start with a sturdy base. Wooden boards work well.
- Add Tiers: Stack additional levels, ensuring each tier is stable and secure.
- Fill with Soil: Use good-quality soil for planting.
I often plant herbs like basil and mint on the top tier since they need good sunlight. The middle tiers are perfect for smaller vegetables, while trailing plants can hang down from the bottom.
Here’s a quick list of plants that work great in a tiered setup:
- Top Tier: Tomatoes, peppers
- Middle Tier: Lettuce, spinach
- Bottom Tier: Strawberries, herbs
This setup not only saves space but also makes for a stunning visual display. It’s a fun project that adds both utility and charm to my garden.
9. Repurpose A Bathtub, Pallets, Or Pavers
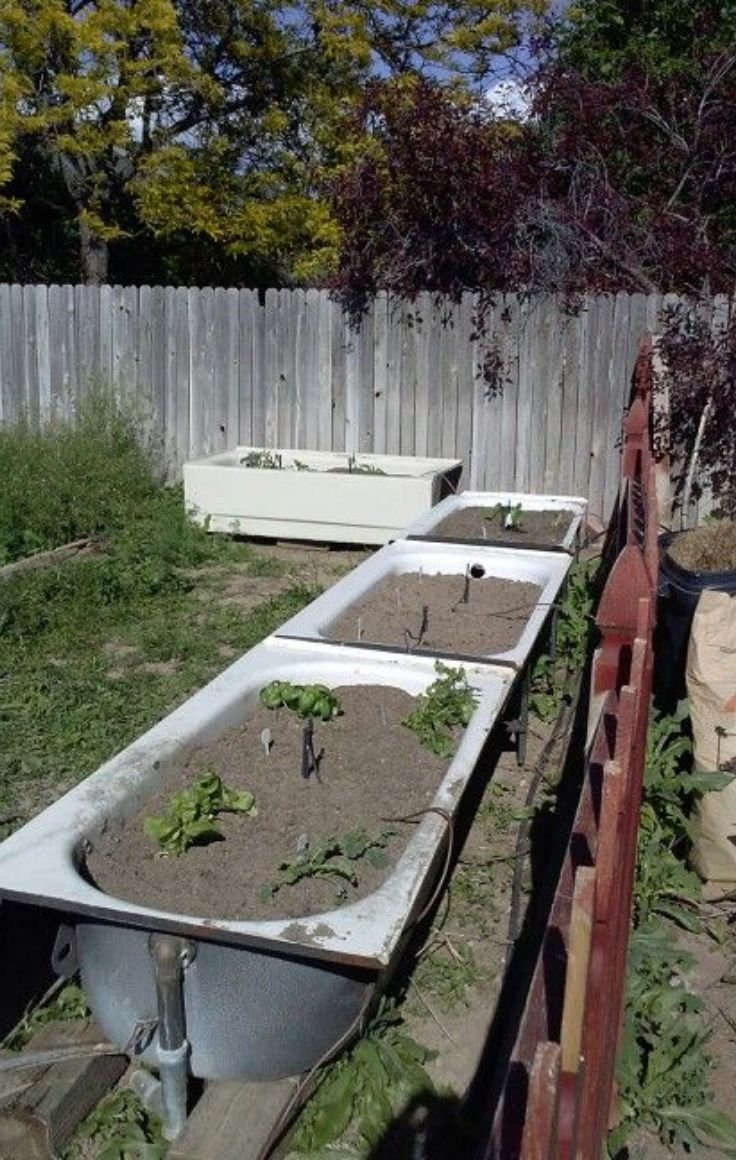
Repurposing materials for garden beds can be a fun and cost-effective way to create a garden space. Using old items not only saves money but also adds character.
- Bathtubs: make unique garden beds. They offer a deep space for roots and have good drainage. Simply clean the tub, fill it with soil, and you’re ready to plant. It’s eye-catching and eco-friendly.
- Pallets: are another great option. Many stores give them away for free. I like to make simple raised beds by stacking a few pallets. Just make sure to line the inside with landscaping fabric to keep the soil in while letting water drain out.
- Pavers: can also be used creatively. If you have leftover bricks or blocks, you can arrange them into a rectangular shape for a raised bed. This is sturdy and looks great in any garden.
To sum it up, using discarded items like bathtubs, pallets, and pavers is not only budget-friendly but also allows me to express my creativity. With a little effort, these materials can transform into beautiful and functional garden beds.
![How to Build a Simple Raised Garden Box [Easy DIY!] 11 15+ Recycled Garden Edging Ideas to Enhance Your Outdoor Space [Visual Guide]](https://homesteadask.com/wp-content/uploads/2024/09/15-Recycled-Garden-Edging-Ideas-to-Enhance-Your-Outdoor-Space-Visual-Guide-2-768x614.jpg)
![12+ Lawn Edging Ideas on a Slope - [Keep Grass in Check] 12 12+ Lawn Edging Ideas on a Slope - [Keep Grass in Check]](https://homesteadask.com/wp-content/uploads/2024/09/12-Lawn-Edging-Ideas-on-a-Slope-Keep-Grass-in-Check-768x614.jpg)
![How To Fill Raised Garden Beds - [With Simple 5 Layer!] 13 How To Fill Raised Garden Beds - [With Simple 5 Layer!]](https://homesteadask.com/wp-content/uploads/2024/09/How-To-Fill-Raised-Garden-Beds-With-Simple-5-Layer-768x614.jpg)
![How To Lay Brick Border Garden Edging - [11 Easy DIY Step] 14 How To Lay Brick Border Garden Edging - [11 Easy DIY Step]](https://homesteadask.com/wp-content/uploads/2024/09/How-To-Lay-Brick-Border-Garden-Edging-11-Easy-DIY-Step-1-768x614.jpg)
